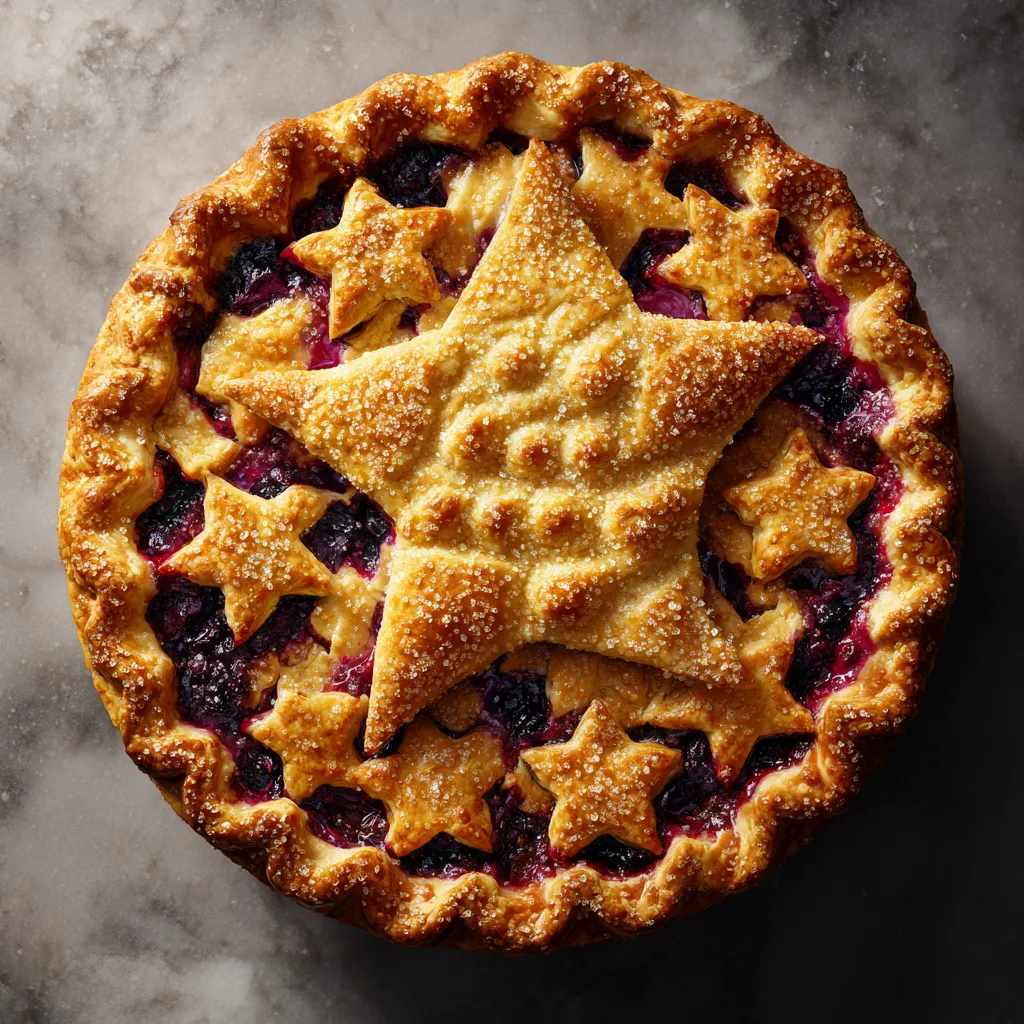
Pi Day Galaxy Berry Pie
Category
Dessert
Prep
40 minutes
Cook
65 minutes
Style
American
Technique
Baking
Diet Friendly
Vegetarian
Daily Recipe: March 14, 2026
For Pi Day in New York City, this showstopping pie leans into the math theme with a bold π symbol on top and a striking deep-purple filling made from blackberries and blueberries. A buttery all-butter crust keeps it classic and flaky, while lemon zest brightens the berries and a touch of cornstarch helps the slices hold their shape beautifully for a clean, Instagram-worthy cut.
Ingredients (for 8)
- Blackberries - 3 cups - fresh or thawed if frozen
- Blueberries - 3 cups - fresh or thawed if frozen
- All-purpose flour - 2 1/2 cups
- Unsalted butter - 1 cup (2 sticks) - very cold, cut into cubes
- Granulated sugar - 3/4 cup - divided
- Packed brown sugar - 1/4 cup
- Cornstarch - 1/4 cup
- Lemon - 1 - zested and juiced
- Vanilla extract - 1 tsp
- Large egg - 1 - beaten for egg wash
- Coarse sanding sugar - 1 tbsp - for topping
- Ice water - 6 to 8 tbsp - as needed
- Salt - 1 tsp
Preparation
-
Step 1 - 🥣🌾🧂In a large bowl, whisk together the all-purpose flour and salt.
-
Step 2 - 🧈🔪✨Add the very cold cubed unsalted butter and cut it into the flour until the mixture looks like coarse crumbs with some pea-sized pieces.
-
Step 3 - 💧✋🥟Add 6 tablespoons ice water and mix gently until the dough starts to come together. Add 1 to 2 more tablespoons if needed.
-
Step 4 - ⭕❄️⏳Divide the dough into 2 disks, wrap them, and chill for at least 1 hour.
-
Step 5 - 🫐🍋🍬In a large bowl, gently toss the blackberries and blueberries with 3/4 cup granulated sugar, brown sugar, cornstarch, lemon zest, 2 tablespoons lemon juice, and vanilla extract.
-
Step 6 - ⏲️🥄🫐Let the berry filling sit for 15 minutes so the fruit can release some juices.
-
Step 7 - 🔥🍽️🌡️Preheat the oven to 425°F and place a baking sheet inside to heat up.
-
Step 8 - 🪵🍥🌾On a lightly floured surface, roll out 1 dough disk into a 12-inch round.
-
Step 9 - 🥧↘️👌Fit the rolled dough into a 9-inch pie dish, leaving a slight overhang.
-
Step 10 - 🫐🥄🥧Spoon the berry filling and all its juices into the crust.
-
Step 11 - 🥟π⭐Roll out the second dough disk. Cut a large π symbol in the center and add small decorative vent holes around it, or use strips to form the π shape on top.
-
Step 12 - 🔒🥧✂️Place the decorated top crust over the filling. Trim excess dough, then fold and crimp the edges to seal.
-
Step 13 - ❄️🥧🔟Chill the assembled pie for 10 minutes to help the design hold its shape.
-
Step 14 - 🥚✨🍬Brush the top crust with the beaten egg and sprinkle with coarse sanding sugar.
-
Step 15 - 🔥🥧⏰Set the pie on the hot baking sheet and bake at 425°F for 20 minutes.
-
Step 16 - 🌡️⬇️🥧Reduce the oven temperature to 375°F and bake 35 to 45 minutes more, until the crust is deep golden and the filling bubbles thickly through the vents.
-
Step 17 - 🛡️🥧🪙If the crust edges brown too fast, loosely cover them with foil during the last 20 minutes.
-
Step 18 - 🪟⏳🍰Let the pie cool for at least 3 hours so the filling can set properly.
-
Step 19 - 🍽️🍦😋Slice and serve the pie as is, or enjoy with whipped cream or vanilla ice cream.
Additional
Fun Pi Day idea: dust the cooled pie lightly with powdered sugar through a paper stencil of the digits 3.14159 around the edge for extra flair. If you want a more NYC-inspired touch, serve each slice with a spoonful of lightly sweetened whipped cream and a tiny lemon zest curl. Kids can help cut out the π symbol and decorative stars.